LogoLogo
  • Introduction
  • Getting Started
  • SenseCrypt Server
    • Starting the server
    • Configuration
    • Licensing and Authorization
    • Using the Swagger Docs page
    • Authorization
    • Using a JWT Token for Mobile Authorization
    • Getting information about your license
    • SenseCrypt eID
      • Generating your first SensePrint eID QR
      • Generating a raw SensePrint
      • Decrypting a raw SensePrint
      • Parsing a SensePrint
    • SenseCrypt Face PKI
      • Configuration
      • Accessing your Root Certificate
      • Generate your first Face Certificate
      • Verifying a Face Certificate
      • Encrypting Data/Keys using a Face Certificate
      • Face Decrypting Data/Keys
      • Face Signing
      • Face Signature Verification
    • Accessing the server for testing
    • Liveness Image Requirements
  • SenseCrypt Mobile SDKs
    • Licensing
    • Authorization for Online SDKs
    • Liveness and Face Capture
    • Android SDK
    • iOS SDK
  • Conclusion
  • FAQ & Search
  • Appendix
    • Privacy Preserving Biometric Verifiability
    • Principles of Privacy Preserving Face Verification
    • Foundational vs Functional eID
Powered by GitBook
On this page

Was this helpful?

Export as PDF
  1. SenseCrypt Server

Authorization

Logging in!

PreviousUsing the Swagger Docs pageNextUsing a JWT Token for Mobile Authorization

Was this helpful?

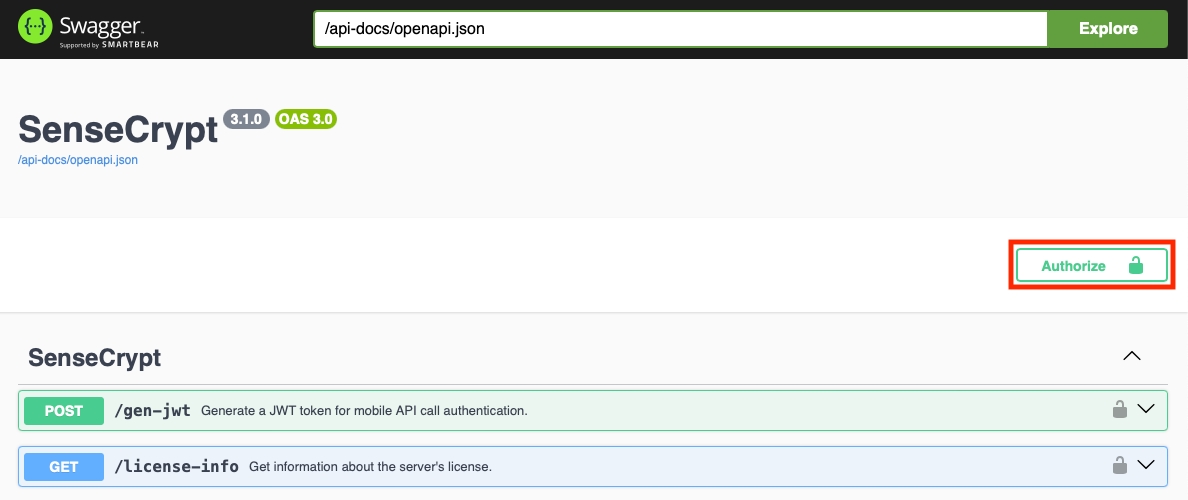
Upon opening the Swagger Docs page in the browser, you should see the Authorize button on the top right:

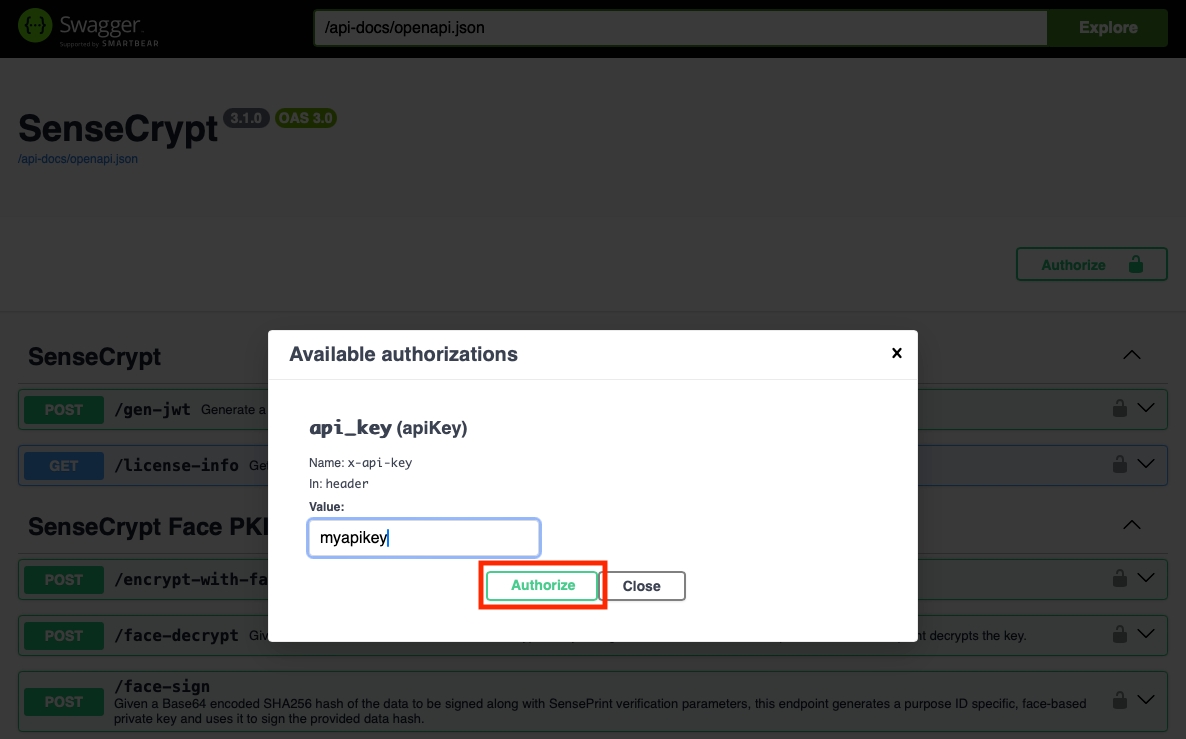
Recall that we had set the API key in the secrets.json file while starting the Docker. We will need to enter that API key after clicking the Authorize button:

Now we can use the Swagger Docs page to interact with the API.

Clicking the Authorize button
Entering the API Key and clicking Authorize